
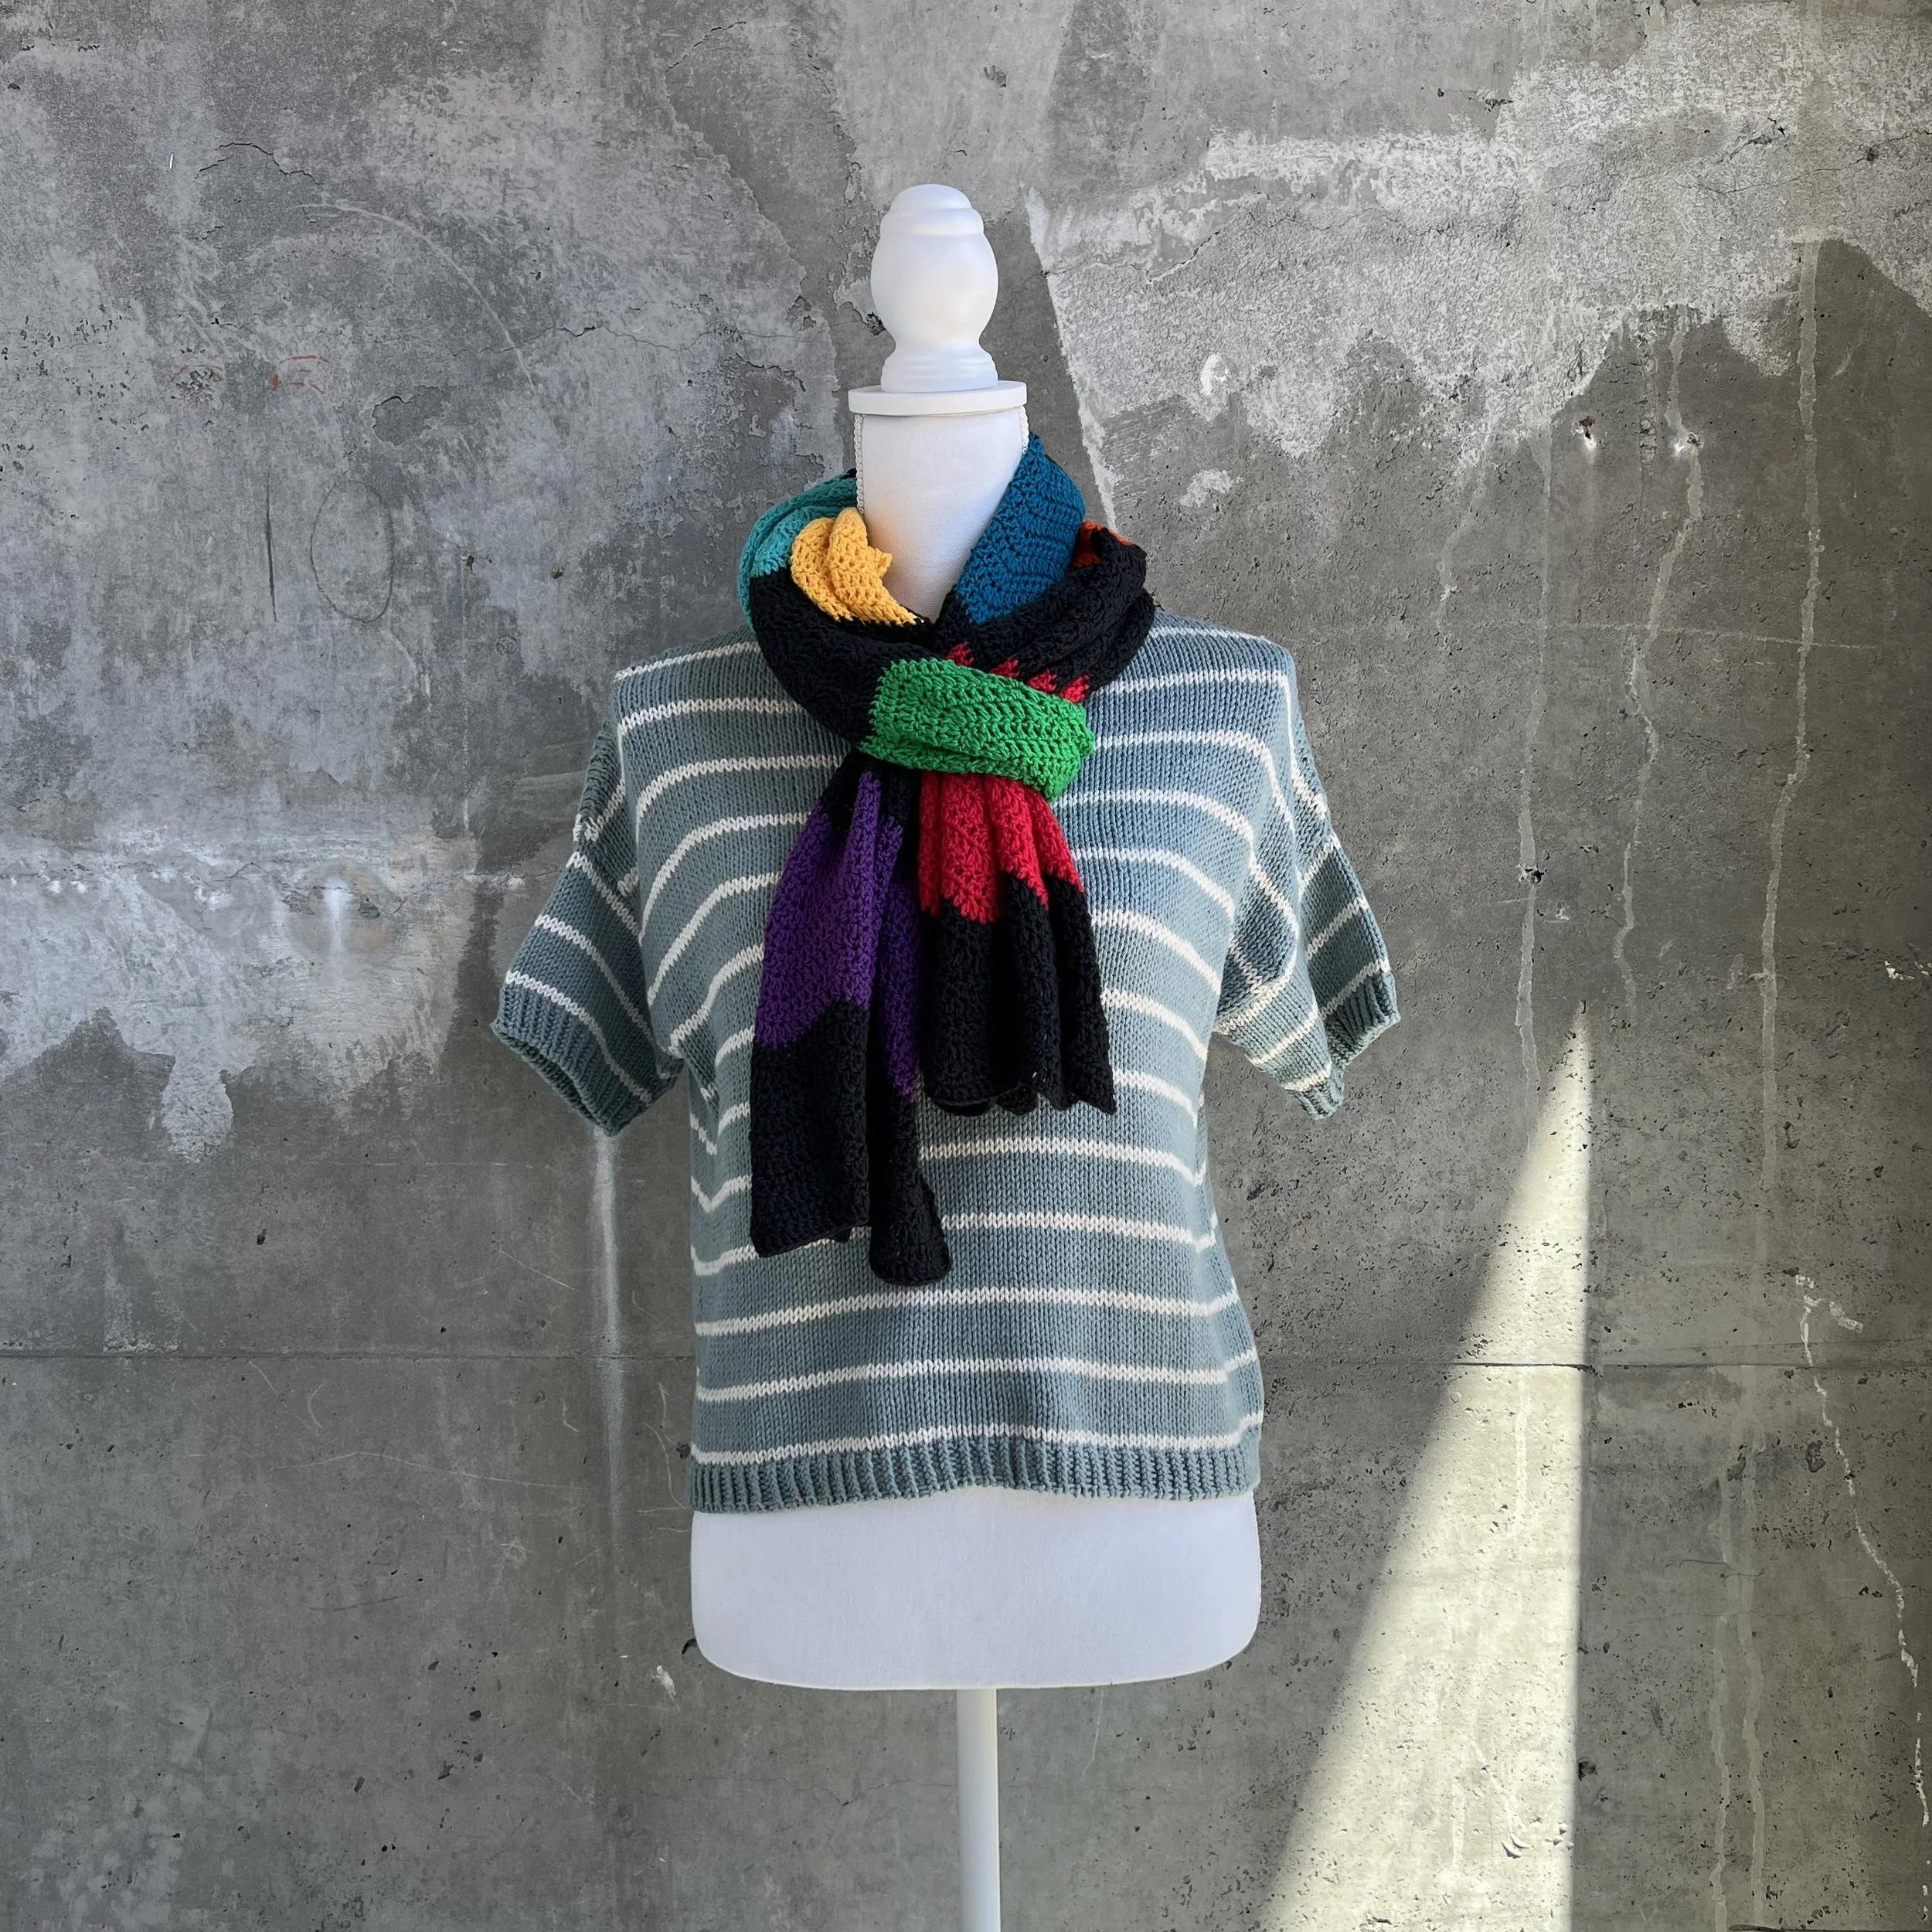
Free Crochet Pattern: Crayon Scarf 🌈
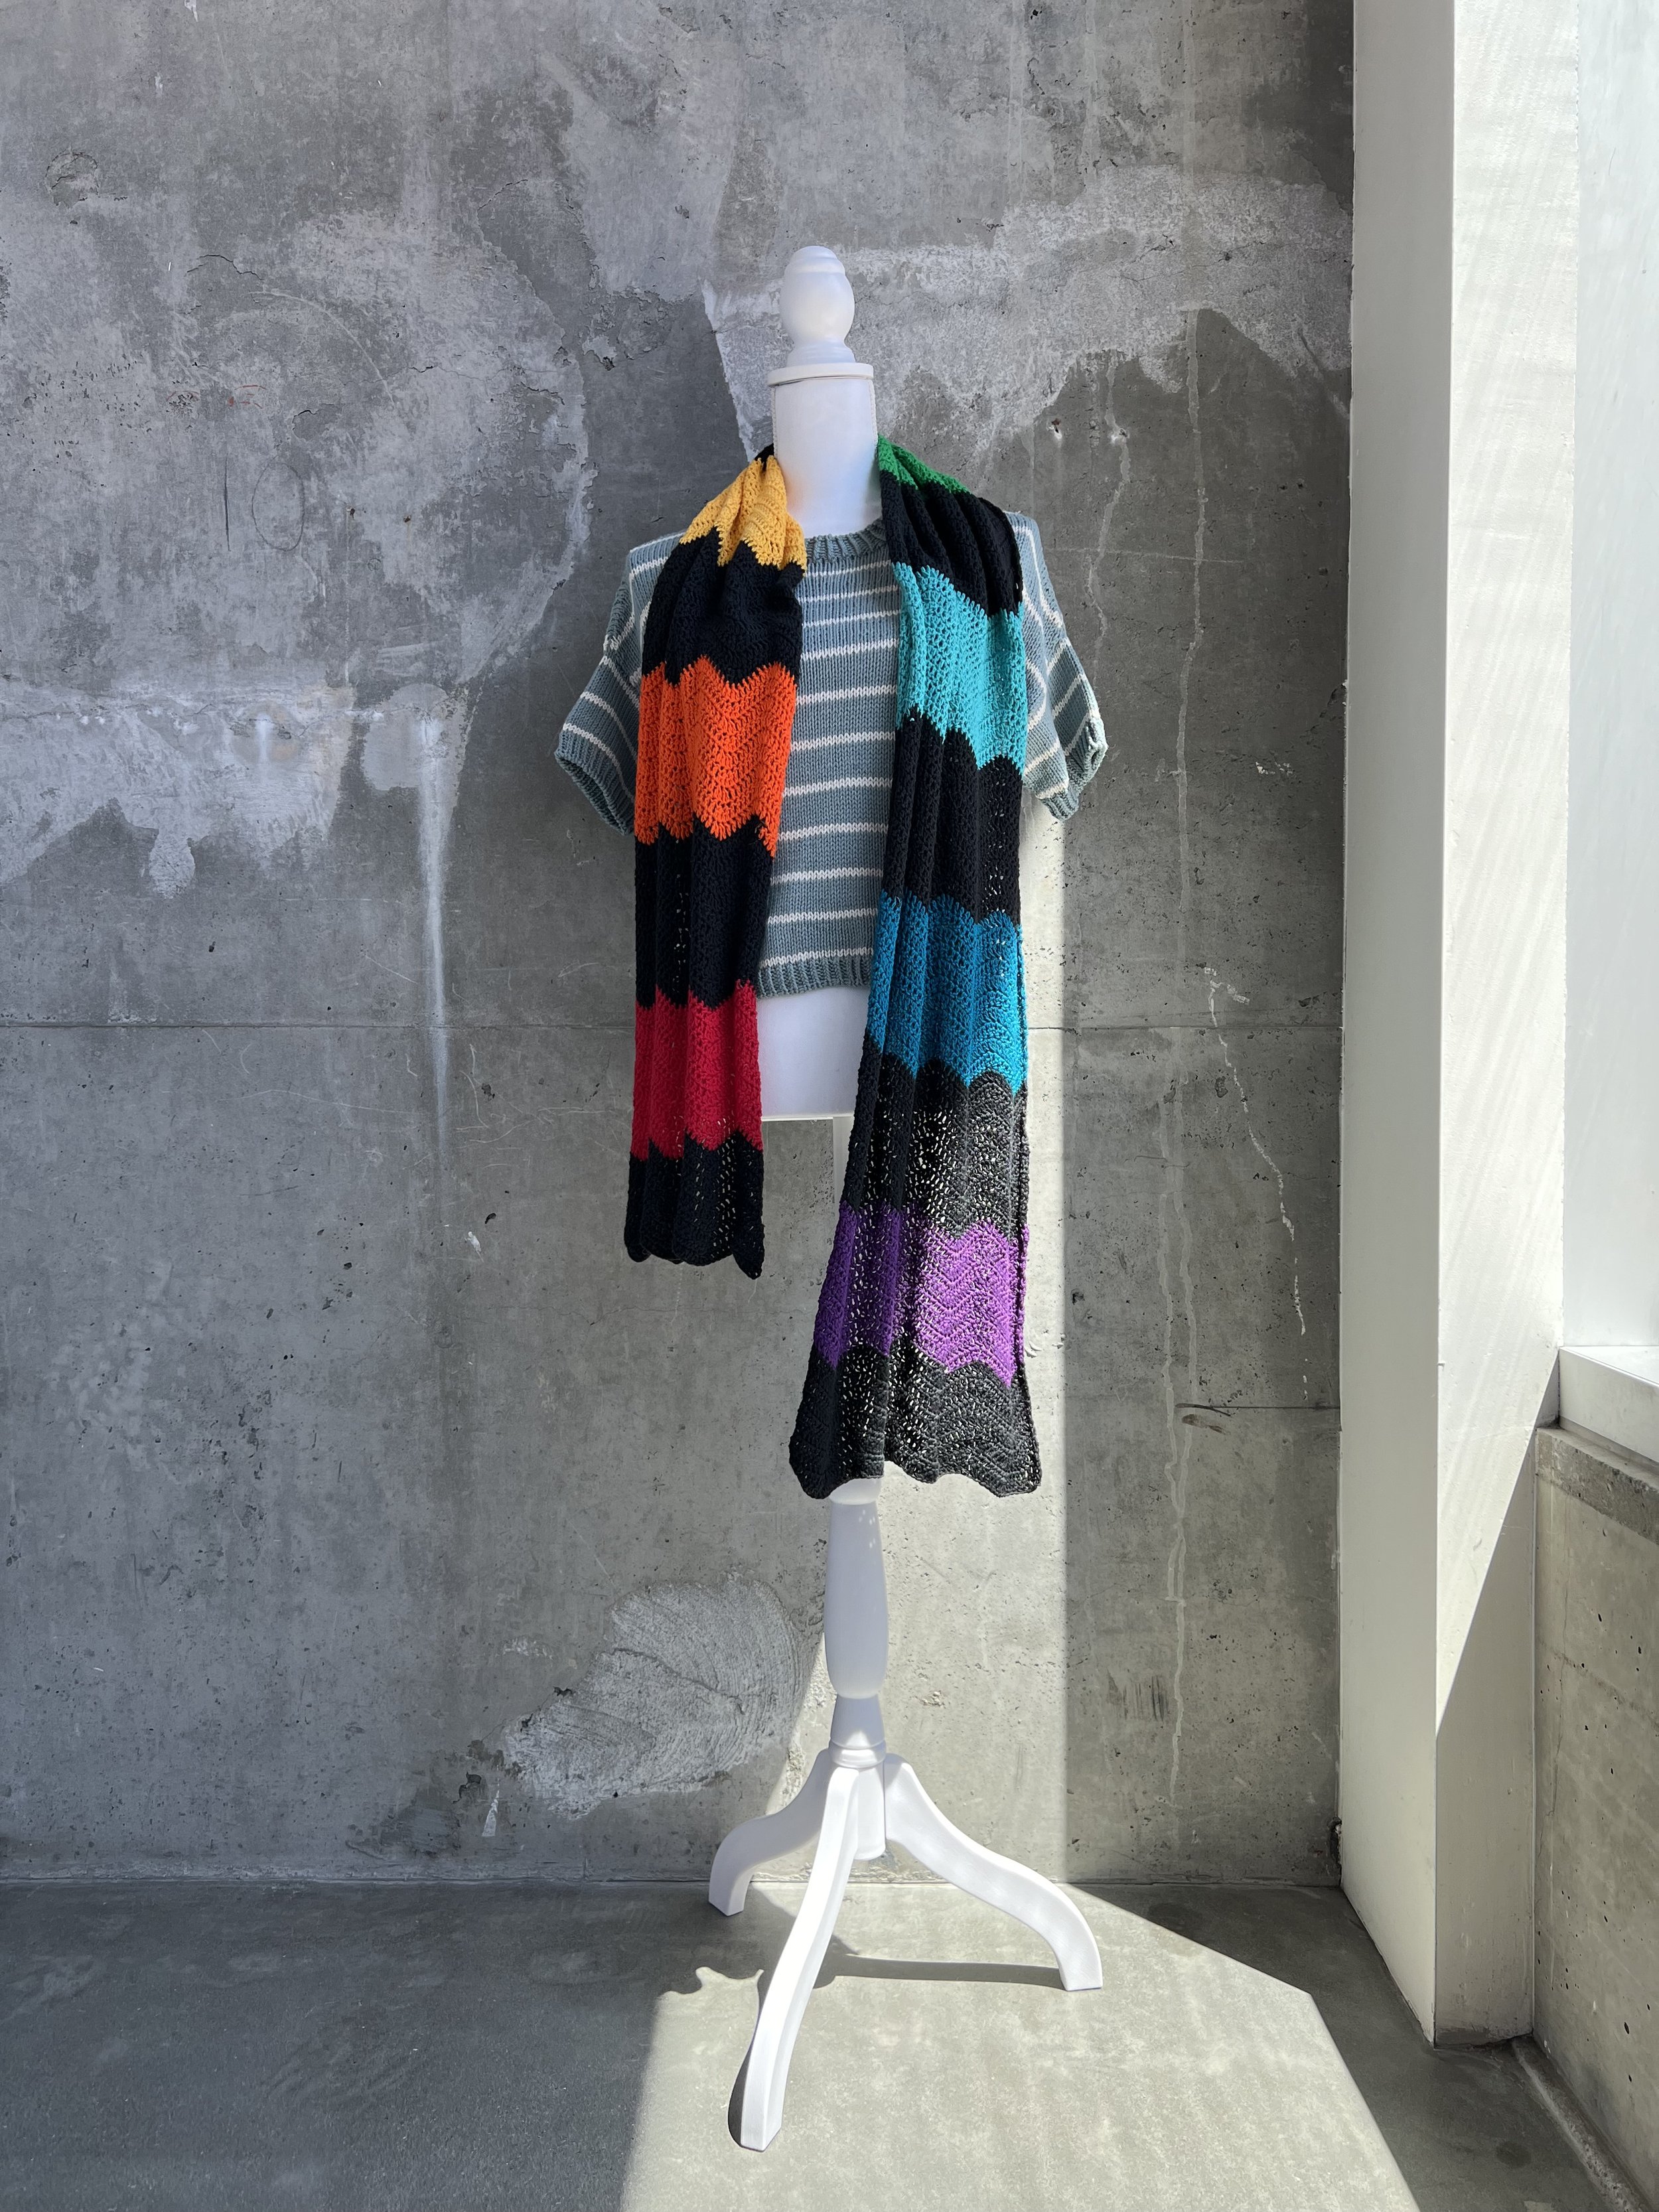
A classic chevron stitch pattern shows off the bold rainbow colors in a self-striping yarn to create a lightweight and delightfully drapey summer scarf 🌈
Thank you to Black Squirrel Yarns in Berkeley for providing the yarn for this project. The sample is available to view at the shop!
A free printable PDF is available to download from my store.
To keep patterns accessible they are free by default, but if you would like to pay for them or otherwise send me a tip, you can do so through this listing.
💕 Thank you!
Sizing
Sizing – The scarf when laid flat measures approximately 12” wide by 72” long.
Gauge to get the sizing is (8 ¼ rows and 22 sts in pattern = 4” x 4”) with a suggested 4.5 mm crochet hook.
Techniques
Stitches used – chain, double crochet, double crochet 2 together (“dc2tog”). Instructions for dc2tog are included.
Construction – The scarf is worked in a single piece, with the rows running the short way across the scarf. If you are using the recommended self-striping yarn, you don’t need to change colors. If you are using a different yarn and want to make stripes, you should know how to join new yarn into a project.
Materials
Yarn – Queensland Collection Rainbow Cake, which is a 100% cotton fingering weight yarn that comes in a 200 g skein containing 875 yd and has an expected gauge of (4 sc sts = 1").
4.5 mm crochet hook – Or size needed to meet gauge.
Tapestry needle
Scissors
Pattern Notation
This pattern uses US crochet terms and the following abbreviations:
ch = Chain stitch
dc = Double crochet stitch
dc2tog = “Double crochet 2 stitches together”, aka 1 decrease.
“2 dc into the next st” = I use this notation instead of “1 incr” to designate increases to make checking the stitch count for each repeat/row easier.
st, sts = Stitch, stitches
(instructions)*n = Work the stitches specified in (instructions) x n times. e.g. (1 sc, 1 dc)*3 expands to “1 sc, 1 dc, 1 sc, 1 dc, 1 sc, 1 dc”.
Crayon Scarf Crochet Pattern
Notes
The fabric created in this pattern does not have a “right side” or “wrong side”.
Each row has a total of 64 sts.
Each color block should last between 9 and 10 rows, and there are 15 color blocks (7 colors and 8 in black), so your scarf will be around 145-150 rows when complete depending on your gauge.
If you are using separate yarns to achieve the colorblock effect, switch colors at the end of every 10th row.
R00 (Leave a tail of yarn at least 6” to ensure you are able to weave in the end) – 64 ch.
R01 – 2 ch (this counts as part of a dc2tog), 1 dc into fourth st from hook (this counts as the second part of a dc2tog), 5 dc, 2 dc into next st, 2 dc into next st, 5 dc, 1 dc2tog, (1 dc2tog, 5 dc, 2 dc into next st, 2 dc into next st, 5 dc, 1 dc2tog)*3.
Repeat R01 until you do not have enough yarn to complete an entire row. Cut any yarn tail in excess of about 6”. Weave in the two ends with a tapestry needle and cut short.
Sharing
I’d love to see your finished projects!
Add your project on Ravelry
Tag me on Instagram @margaretmakesthings
Reference
Stitch Chart
Here is a truncated stitch chart to illustrate the pattern repeat. Note that increases are always worked on top of increases, and decreases (dc2tog) are always worked on top of decreases. Each row starts and ends with a dc2tog (or 2 ch + 1 dc that acts as a dc2tog).
The chart is 4 rows long, but you should work rows until your swatch is at least 5” tall in order to get a more accurate row gauge measurement.
dc2tog
This is one method to work a decrease over two stitches in the double crochet stitch. To make one dc2tog stitch:
Make part of 1 dc (this is just the steps for making 1 dc, except you do not do the last “yarn over and pull through2 loops”):
Yarn over and insert hook into next stitch.
Yarn over and pull up a loop through the stitch.
You should now have 3 loops on the hook.
Yarn over and pull up a loop through 2 of the loops.
You should now have 2 loops on the hook.
Without completing the first dc, start working a second dc:
Yarn over and insert hook into next stitch.
Yarn over and pull up a loop through the stitch.
You should now have 4 loops on the hook.
Yarn over and pull up a loop through 2 of the loops.
You should now have 3 loops on the hook.
To finish the stitch:
Yarn over and pull up a loop through the 3 remaining loops.