
Free Crochet Pattern: Grizzly Peak Beanie

The Grizzly Peak Beanie is a delightfully chunky ribbed beanie in a classic silhouette. The finished hat measures 12" long and 18" in circumference, and is intended to be worn with a cuff folded up. The hat will be stretchy, and should fit most adults comfortably.

Step by step photos for the first 24 rows are provided after the written pattern. If you’d like a printable condensed version of this pattern, you can download a PDF for free in my store or on Ravelry.
To keep patterns accessible they are free by default, but if you would like to pay for them or otherwise send me a tip, you can do so through this listing.
💕 Thank you!
Yarn – approximately 150 yds of a chunky/bulky weight yarn an 8.0 mm crochet hook or size needed to meet gauge.
Suggested yarn is Malabrigo Chunky, and you will need about 1.5 skeins if using that yarn.
Gauge – (10.5 sts x 11 rows) = (4” x 4”), alternating rows of yoslst blo and sc blo. This pattern works up relatively quickly, so in lieu of a gauge swatch, you can crochet the first 12 rows and check that the segment measures close to 4.5” wide and 13” long.
Stitches used –(in US 🇺🇸 crochet terms) ch (chain), sc (single crochet), yoslst (yarn over slip stitch).
Construction – The hat is worked in a single flat piece and then joined with a sc and mattress stitch seam. The rows run vertically (so the foundation chain determines the length, and the hat grows width-wise as it works up). The crown is shaped using short rows.


Stitch Reference
yoslst
i.e. “yarn over slip stitch”
Yarn over.
Insert hook into next stitch.
Yarn over and pull up a loop. At this point, there should be three loops on the hook.
Pull the loop you made in step 3 through the other two loops.
sc join
When working a sc into a stitch directly after a short row ends, the stitch is slightly modified to reduce holes in the fabric. It’s essentially an invisible decrease over the turning chain.

Insert hook in the “back bump” loop of the previous row’s turning chain.
Insert hook into the next available stitch (i.e. for this pattern, if you are crocheting R04, you start out working the stitches into R03, but after R03 runs out, you start working into R01).
Yarn over and pull up a loop through 2 of the loops on your hook (i.e. through the stitch you are making the new sc in AND the turning chain loop that you picked up). You should now have 2 loops on the hook.
Yarn over again and pull through all 2 of the loops on the hook to finish the sc.
Notes
ALL STITCHES ARE MADE IN THE BACK LOOP ONLY.
Optional – work the last stitch in each odd numbered row into both loops. This creates a smoother edge, but splits the last stitch.
All rows end in “chain 1 and turn”, and this chain is not included in the row’s stitch count.
Pattern
R00 [36 stitches total for this row] – (Foundation chain) 36 ch.
R01 [36] – 36 yoslst.
📝 R02 is the first short row. You’ll leave 6 stitches from R01 unworked when starting R03.
R02 [30] – 12 yoslst, 18 sc. Optional – put a stitch marker into the back bump of the turning chain made before starting R03. This is the part of the stitch that you will pick up with the ‘sc join’ in R04.
R03 [30] – 30 yoslst.
📝 R04 and R05 are longer than R02 and R03. When working R04, when you run out of R03 stitches to work into, continue working stitches into R01. 3 stitches of R01 are left unworked at the top edge of the hat.
R04 [33] – 12 yoslst, 21 sc, 1 sc join, 2 sc.
R05 [33] – 33 yoslst.
R06 [36] – 12 yoslst, 24 sc, 1 sc join, 2 sc.
R07 [36] – 36 yoslst.
R08 [33] – 12 yoslst, 21 sc.
R09 [33] – 33 yosslt.
R10 [30] – 12 yoslst, 18 sc.
R11 [30] – 30 yoslst.
R12 [36] – 12 yoslst, 18 sc, (1 sc join, 2 sc)*2.
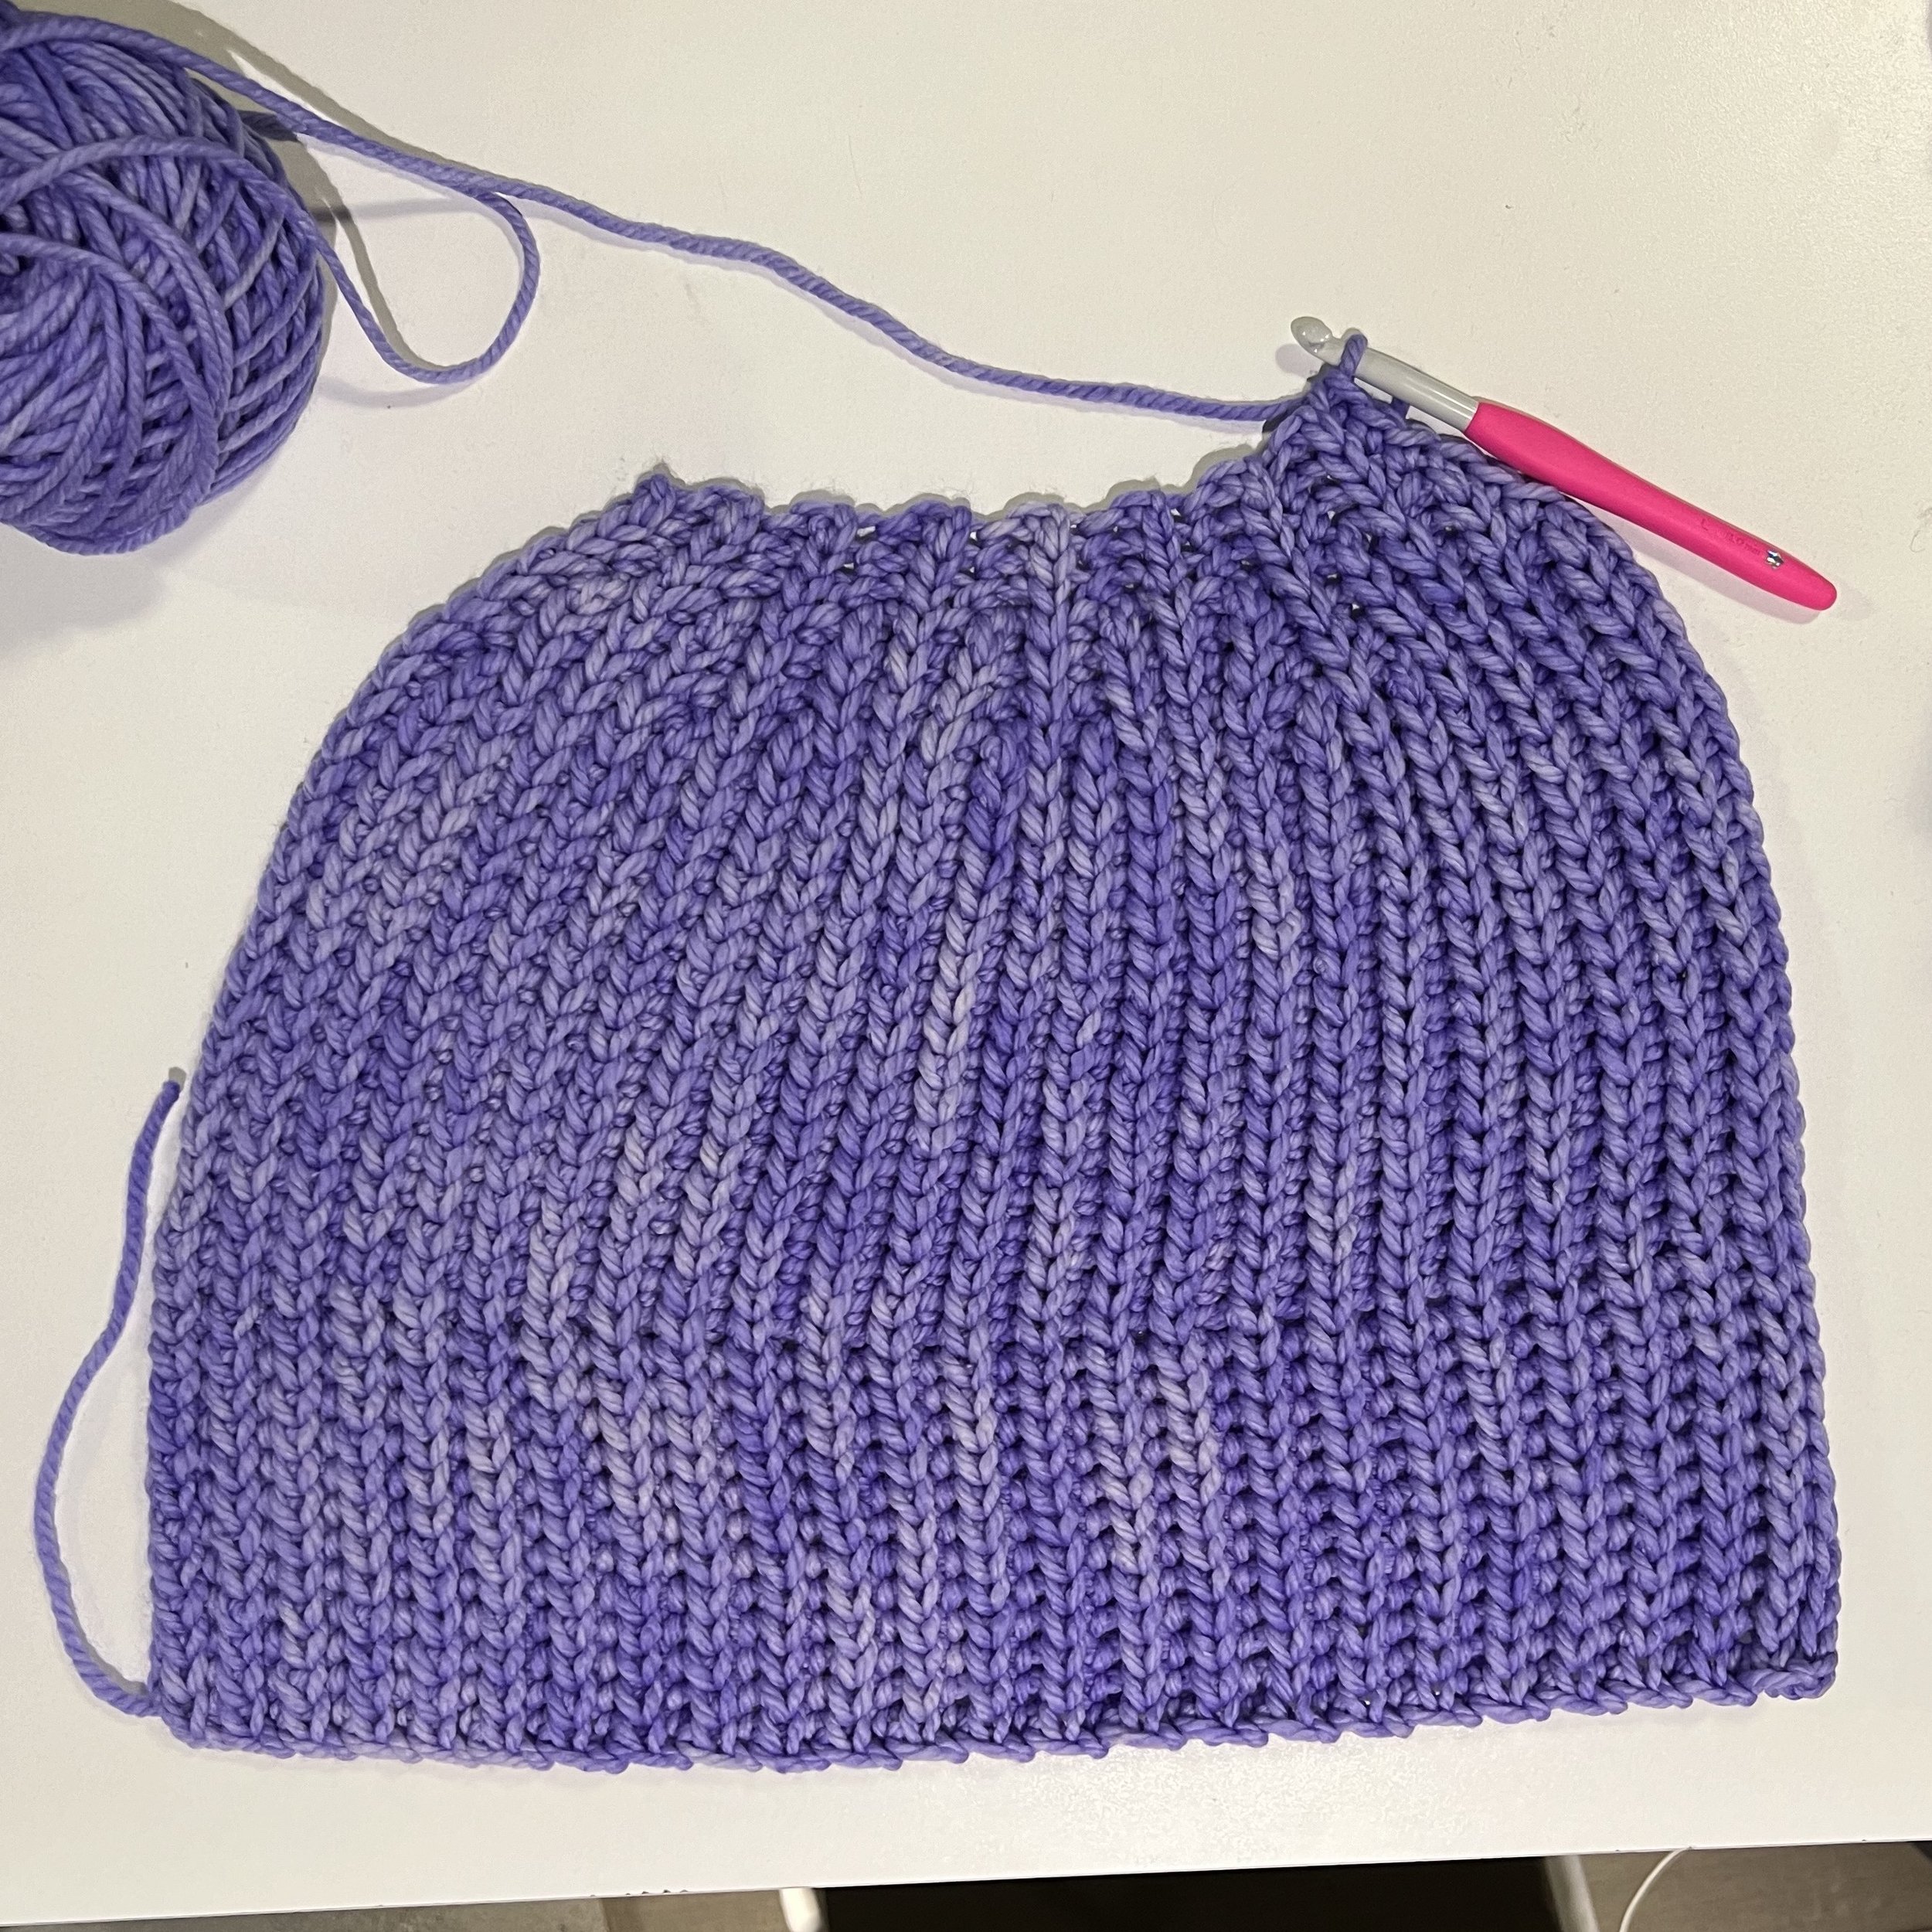
At this point, your segment should be shaped like a wedge should measure 4.5" inches across and about 13" tall. After seaming the hat closed, the total uncuffed length will end up closer to 12”.
Repeat R01-R12 an additional 3 times to make a total of 4 segments (60 rows plus the foundation chain). Don't cut the yarn yet.
Suggested finishing method
Fold the hat along its vertical axis so that the “wrong side”/inside of the fabric is on the outside.
Ch 1, and seam the hat with a row of 36 sc working from the top of the hat towards the bottom. Work each sc through the foundation chain and the back loop of the final row.
Leave a ~6” long tail and cut the yarn. Weave in the ends.
Cut a piece of yarn about 1.5 times the width of the top edge of the hat. Use this yarn to seam the hole at the top of the hat using mattress stitch (or whip stitch) and weave in these ends.
For step 4, you don’t need to be super particular about which stitches you are sewing into, as long as it is approximately one stitch per row. When working mattress stitch, alternate pulling the yarn through both sides of the hat, like lacing up a shoe zig-zag style. The following image illustrates using mattress stitch to sew a tube closed:


The completed hat when laid flat and uncuffed will have a visible twist where the cuff starts, but when worn, the ribbing should be able to lay straight.


Samples in Malabrigo Chunky colorways Azul Profundo (left) and Periwinkle (right).
💕 Social
I’d love to see your finished hats! Add your project on Ravelry, or use the hashtag #grizzlypeakbeanie on Instagram and tag me @margaretmakesthings.
Reference Photos
All photos unless otherwise noted show the fabric with the “right side” (the side of the fabric that will be the outside face of the hat) facing up.
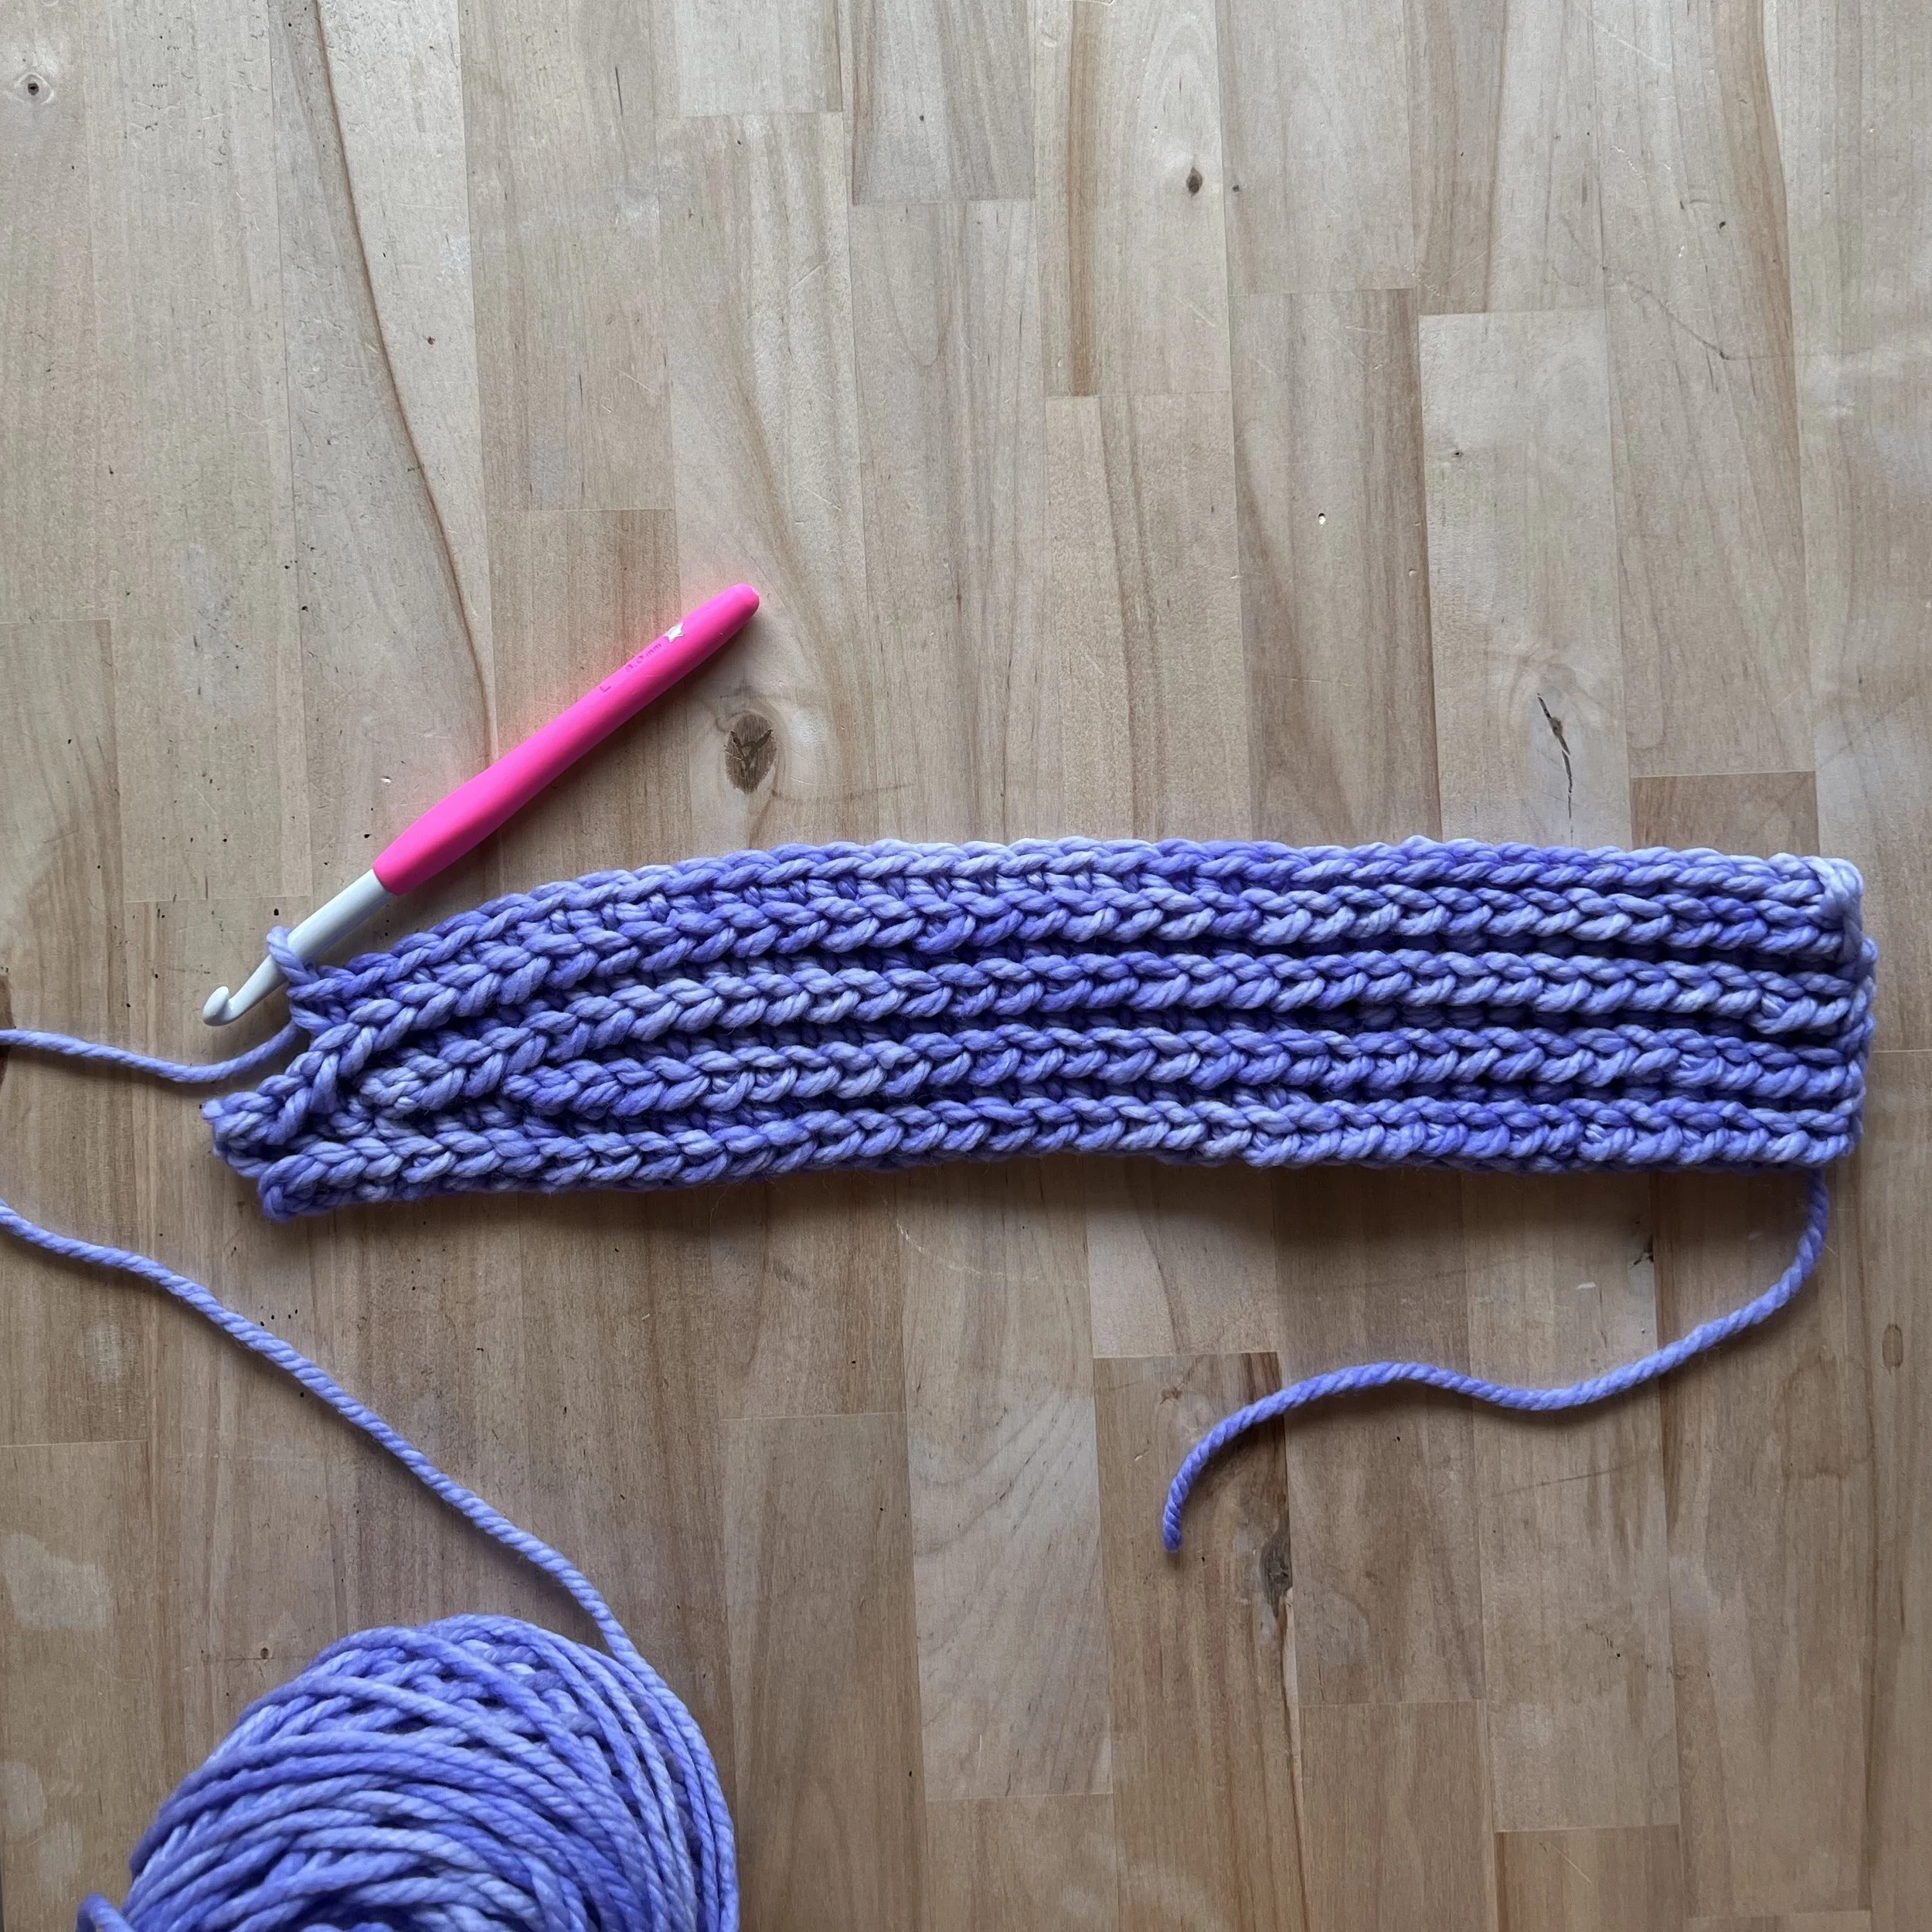
R01 is worked into the full length of the foundation chain (R00). After completing R02 (below), there will be 6 sts remaining in R01.

Turn for R03 leaving those 6 stitches unworked. When R03 is complete, it should look like this:

When working R04, you’ll reach the end of R03. At this this point, the next stitch will be a ‘sc join’ which will transition you to working the stitches for R04 into R01. For the ‘sc join’, you will pick up both loops marked in red below before making a sc as normal.
R04 complete:

When you turn to start R05, three stitches in R01 are still unworked. R05 complete:

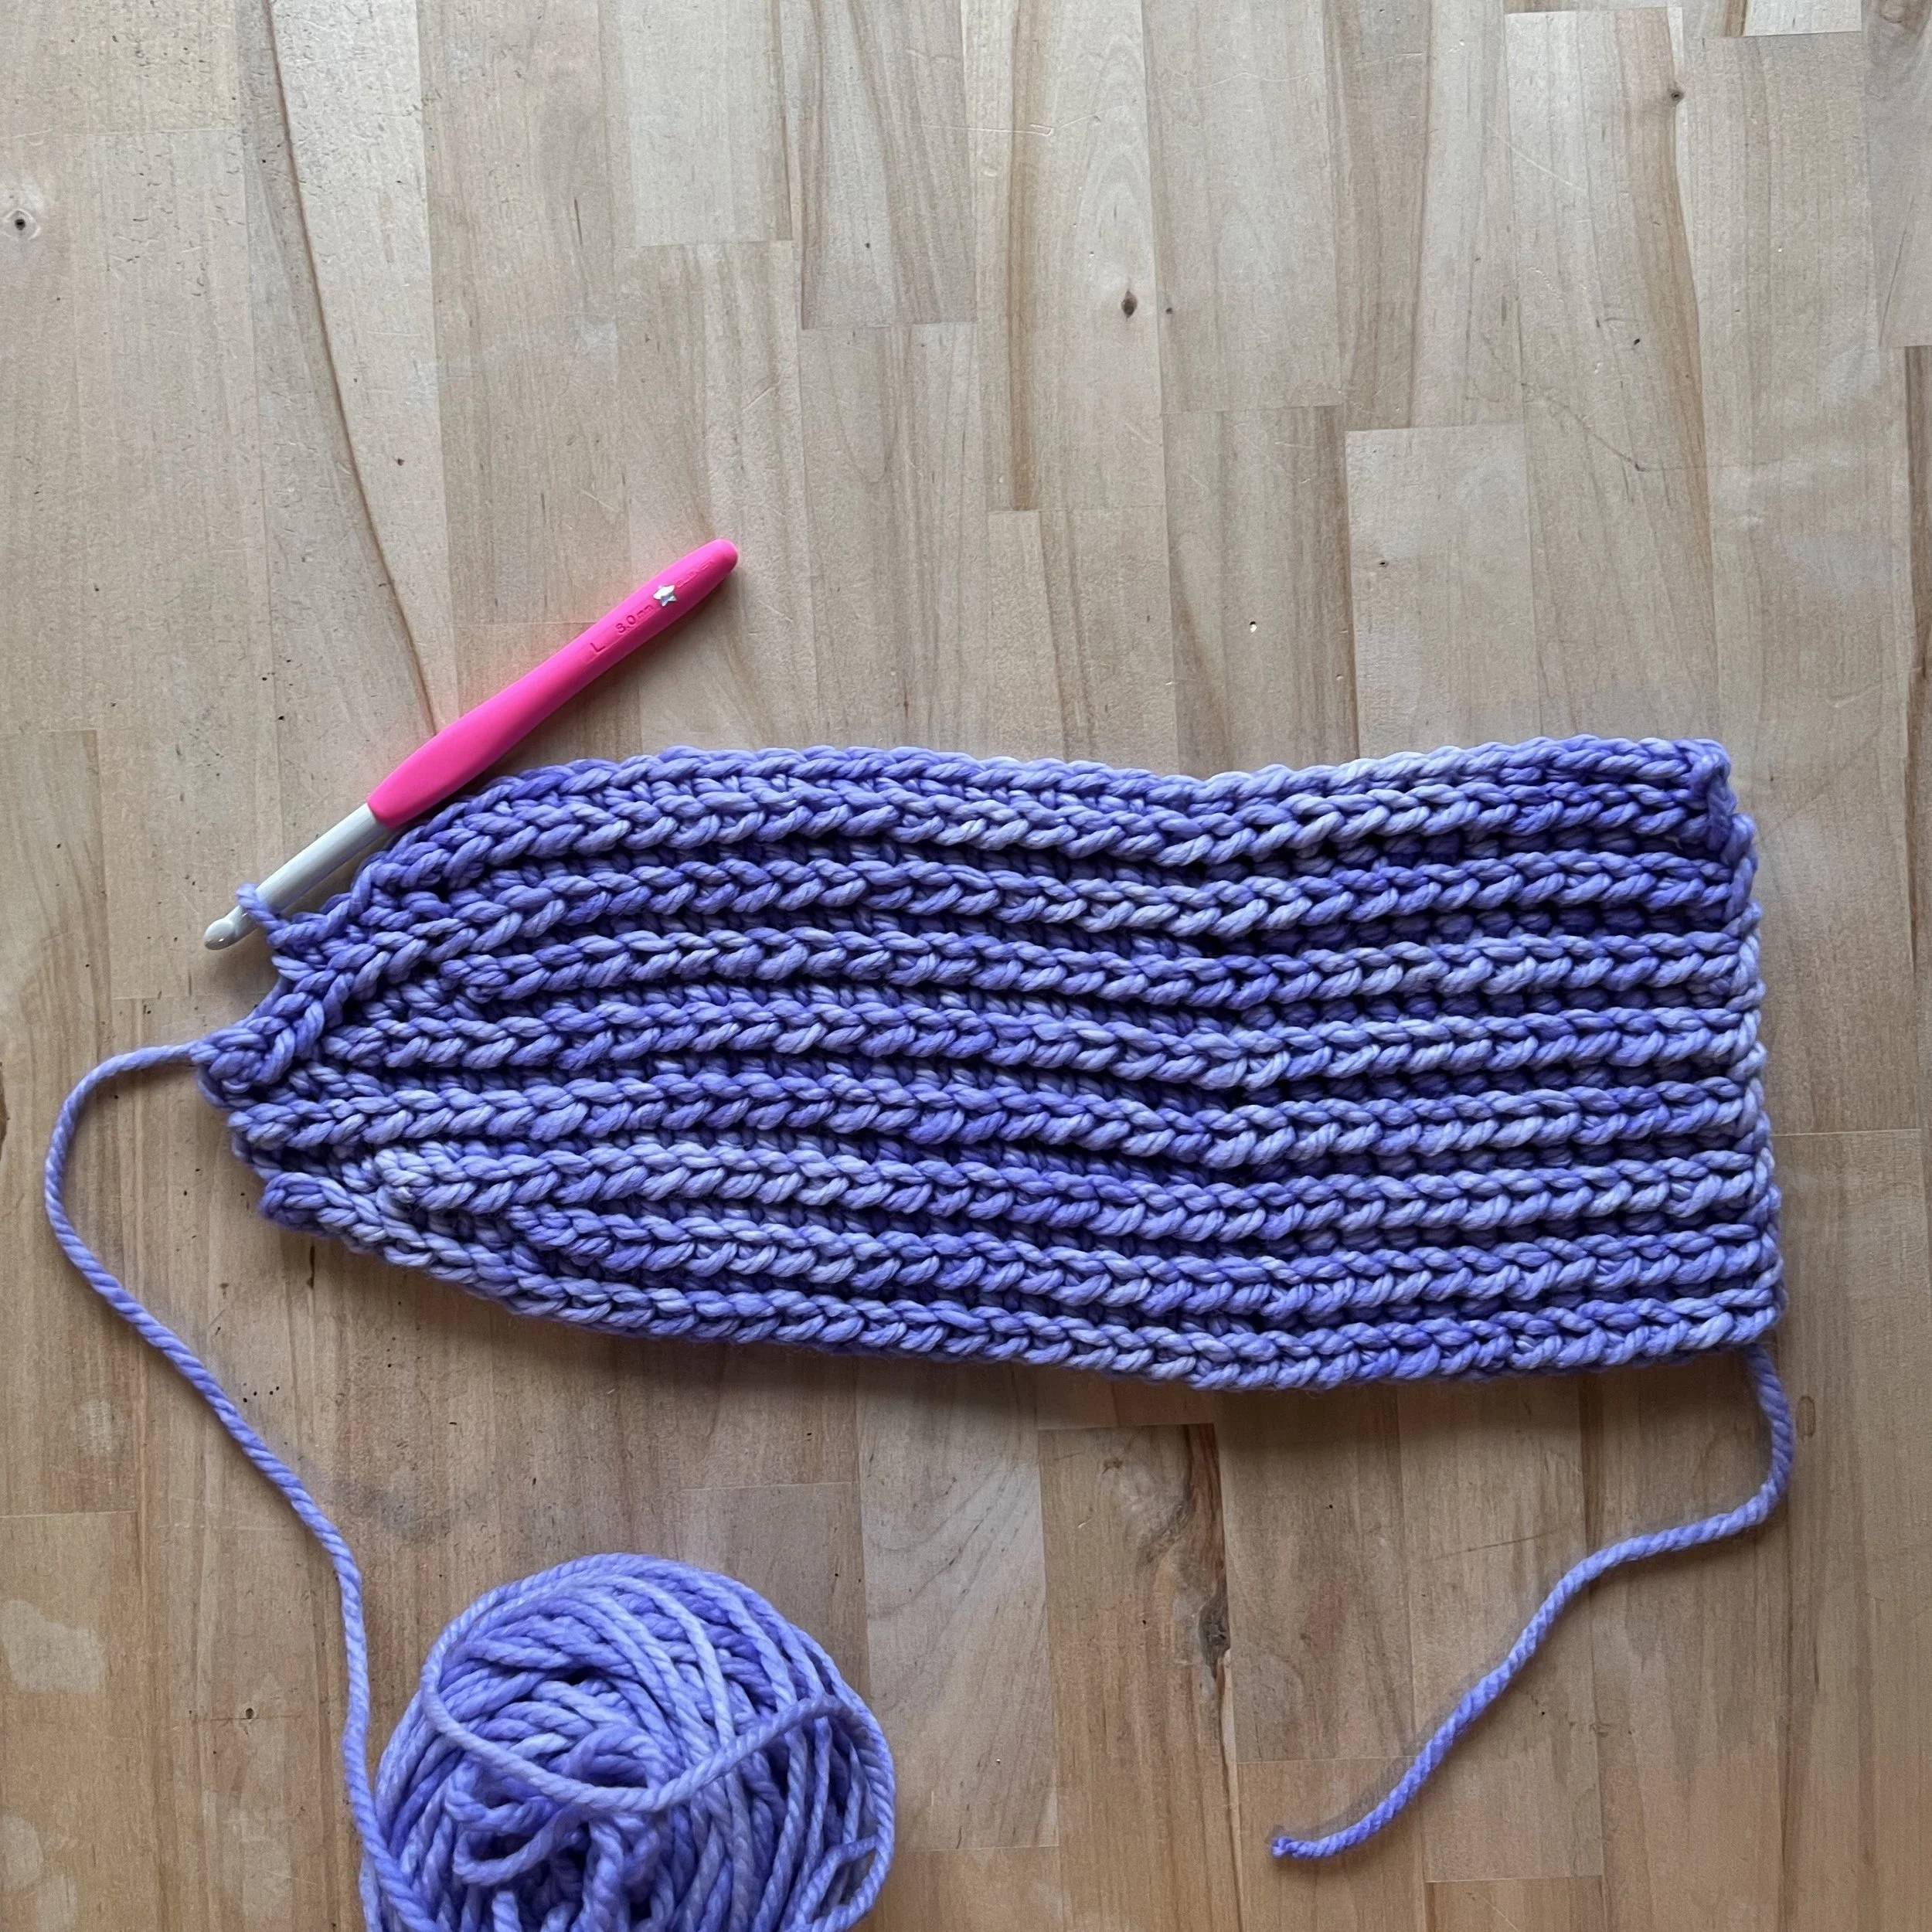
R06 will be worked across the full length of the beanie:

R07 complete:

R08-R11 are short rows, mirroring R02-R05.
R08 complete:
R09 complete:

R10 complete:

R11 complete:

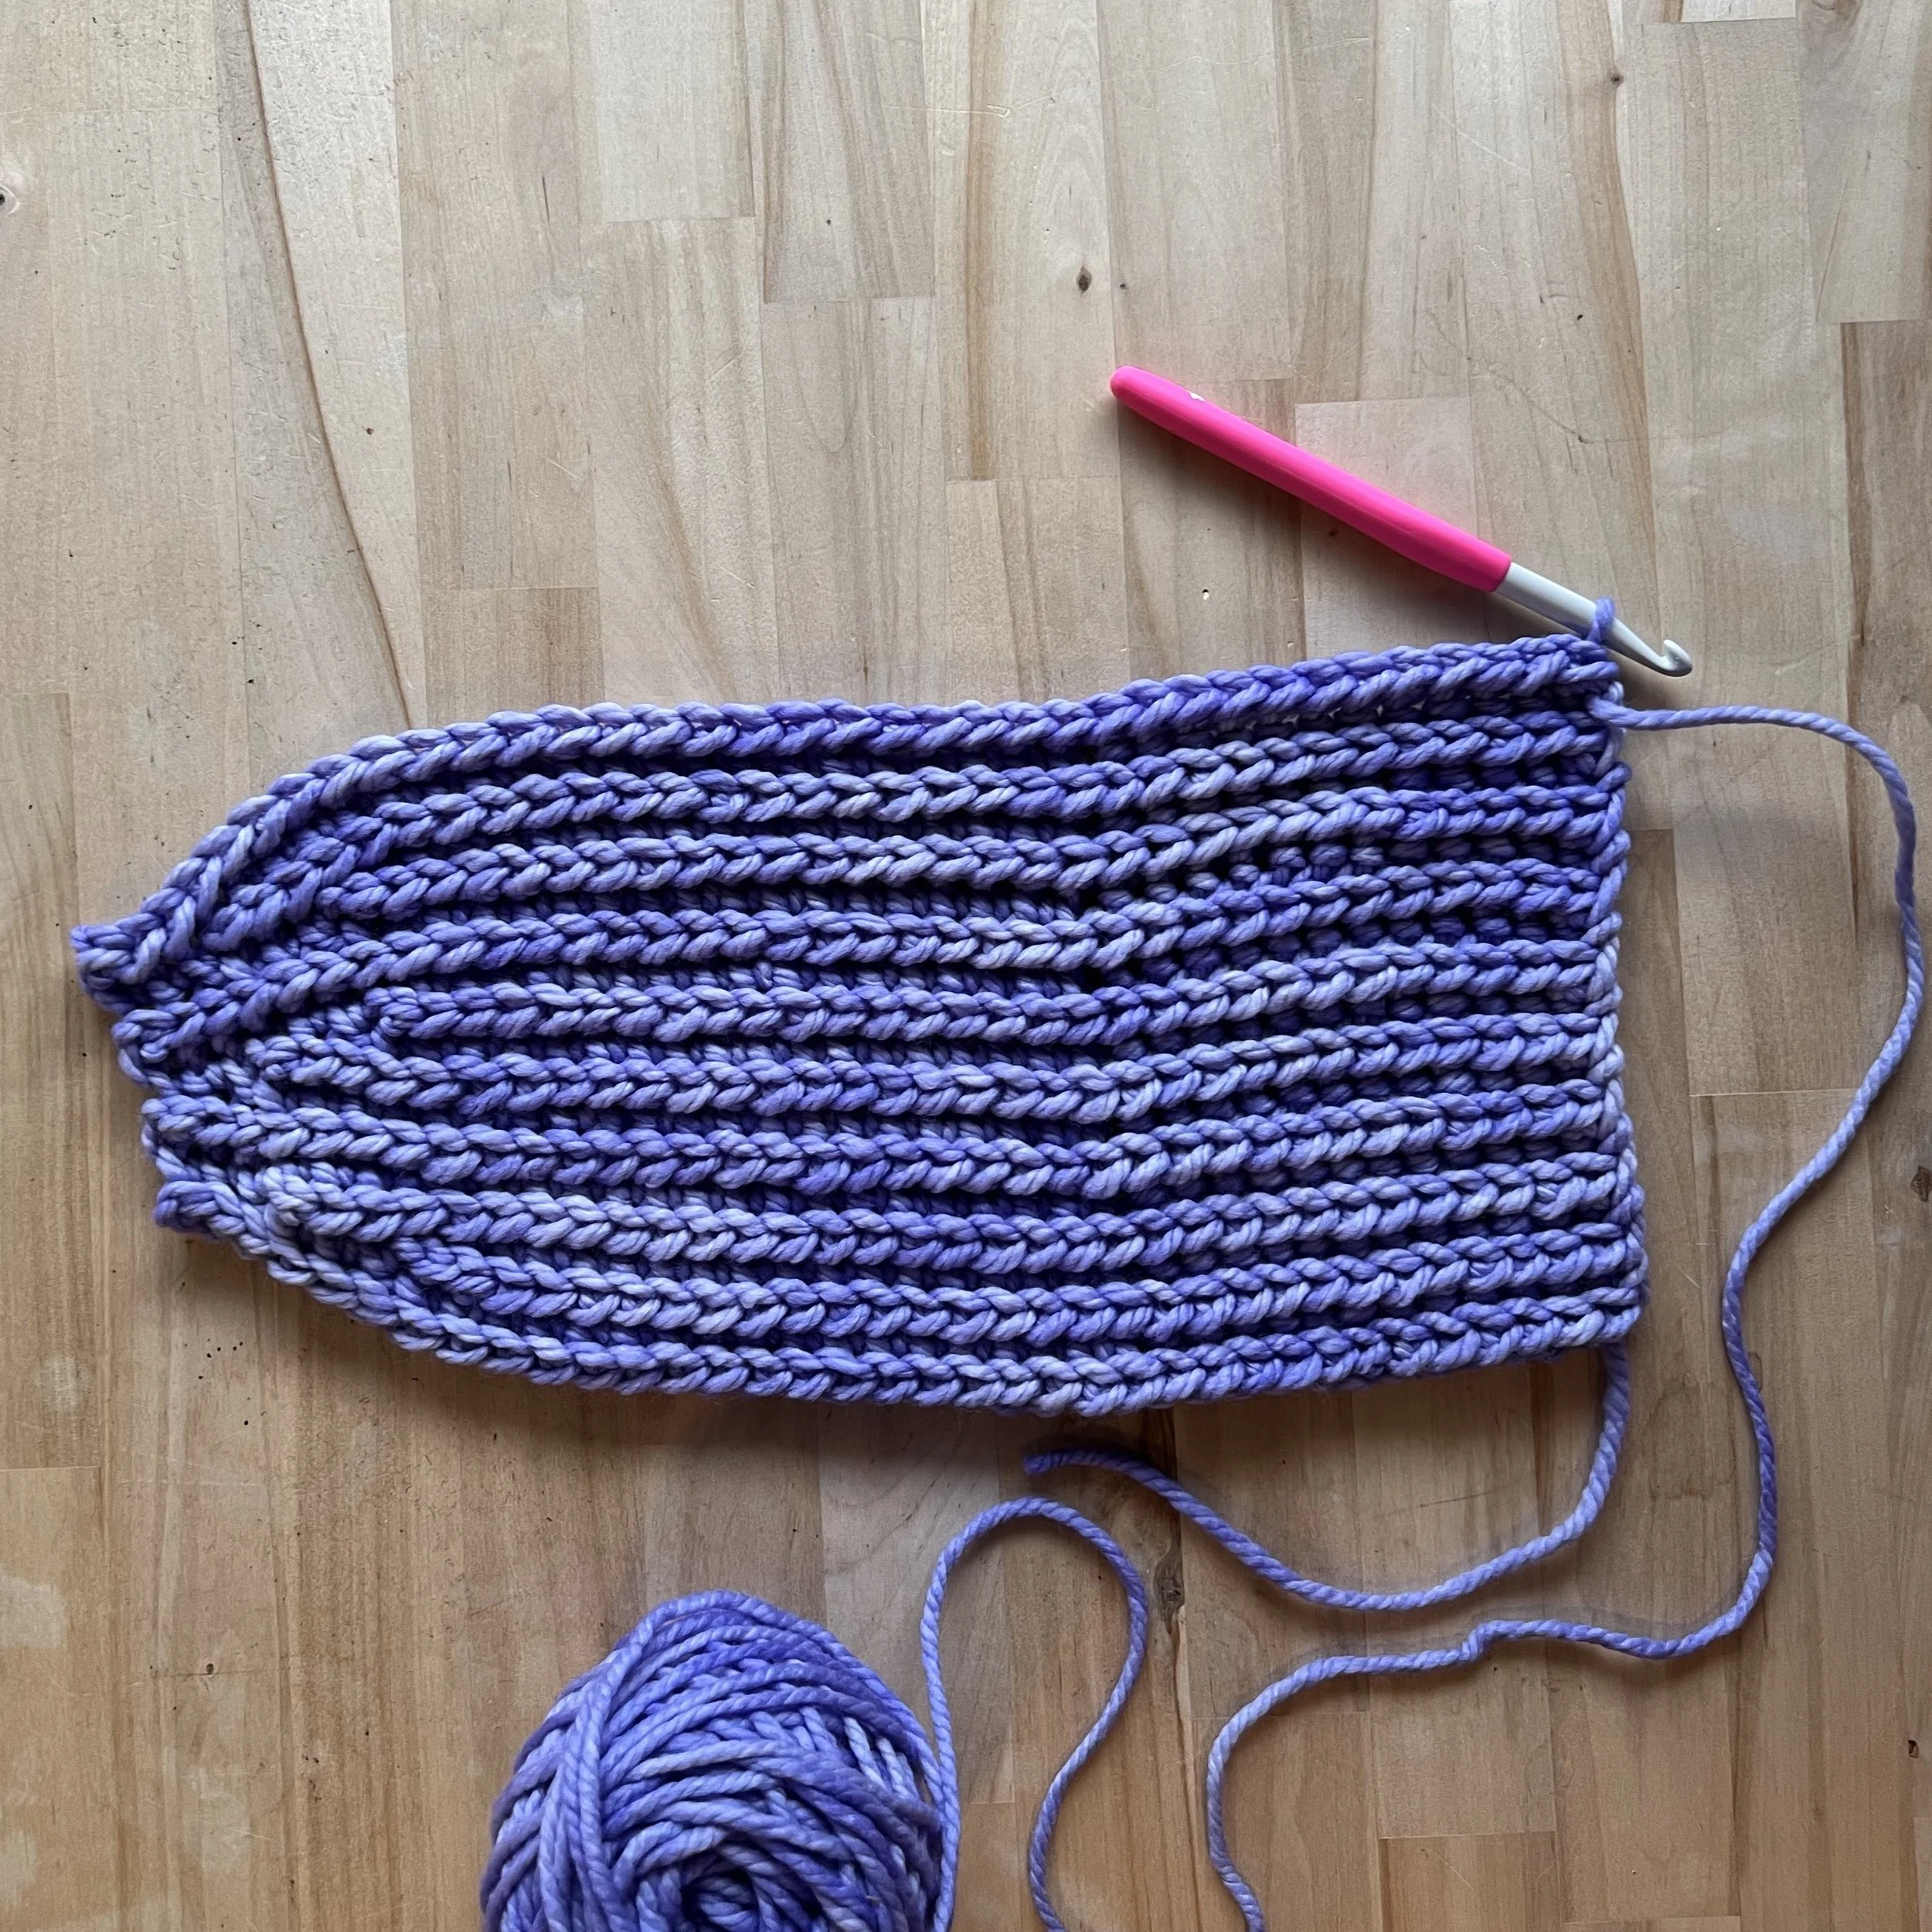
In R12, you’ll work a row of sc the full length of the hat, using a ‘sc join’ stitch each time you reach the end of a short row. After R12, you have one segment complete:

To complete the hat, you’ll make 3 more of these wedge-shaped segments. The following photos show what the hat looks like as the second segment is worked up.
Segment 2, R01 (i.e. R13) complete:

R14 complete:

R15 complete:

R16 complete:
R17 complete:

R18 complete:

R19 complete:
R20 complete:

R21 complete:

R22 complete:

R23 complete:

R24 complete:

Once all four segments are completed, the hat will look like this:
Without cutting the yarn, fold the hat in half lengthwise so that the “wrong side” of the fabric is facing outward:

When working the sc seam to close the fabric into a tube, make sure to only work into the back loops of the stitches from R60 (marked in red below).

Thank you for reading! Stay cozy 🧶

Modeled by giraffe friend at ImagiKnit East in Berkeley, CA.
Changelog
Update 2024-12-18 – Corrected step 4 in “sc join” so that it makes a sc instead of sl st.